
The Amazon Fire lineup is filled with affordable Android tablets. Offering plenty of functionality without the price tag associated with products from Samsung or Lenovo, Amazon's home-grown family of tablets is an easy recommendation for frugal shoppers. There's a bit of caveat to the lineup, however, as none of them come preinstalled with the Google Play Store.
That means you won't have access to many of the great apps available on Google Play and will instead be limited to what's available on the Amazon App Store. And while Amazon does a lot of things well, its App Store leaves much to be desired. If you're looking to use the Google Play Store on an Amazon Fire tablet, you'll need to deal with a clunky (but fairly simple) workaround. Here's the easiest way to download Google Play on your Fire tablet.
Allow apps from unknown sources
Because you aren't able to download the Google Play Store directly from the Amazon App Store, you'll need to download it from the internet. However, Amazon Fire devices have a built-in setting that blocks the download of apps from sources other than the Amazon App Store. Before downloading Google Play, you'll need to disable that setting. Here's how:
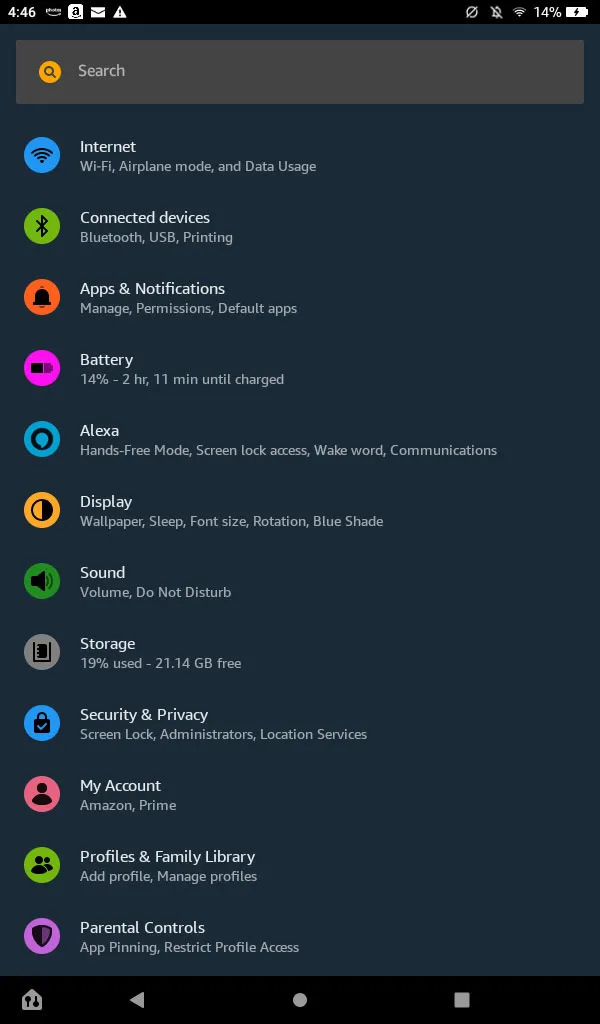
Step 1: Open the Settings app on your Amazon Fire device.
Step 2: Select the Security & Privacy tab.
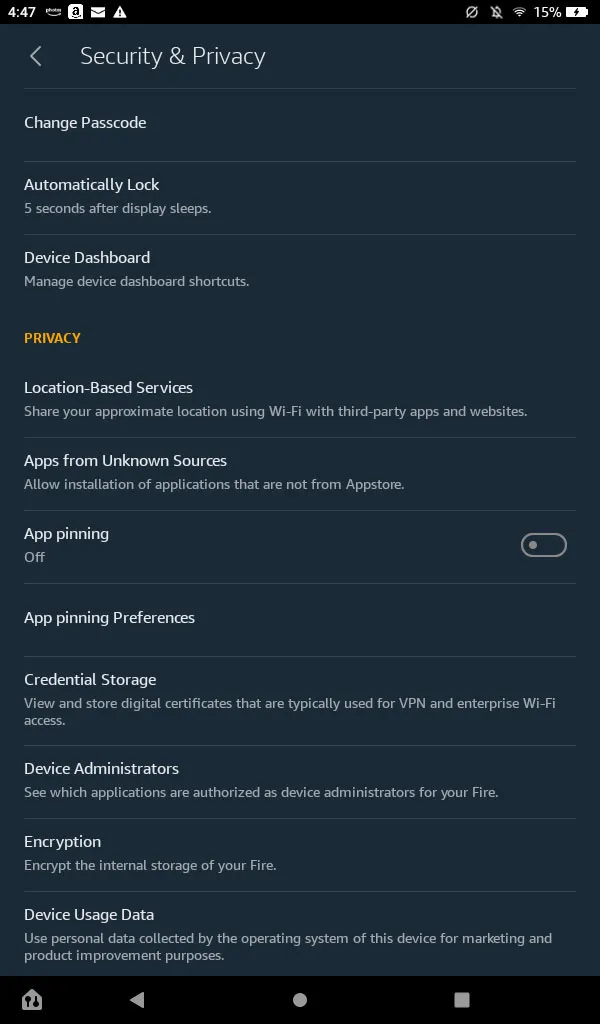
Step 3: In the Security & Privacy menu, select Apps from Unknown Sources.
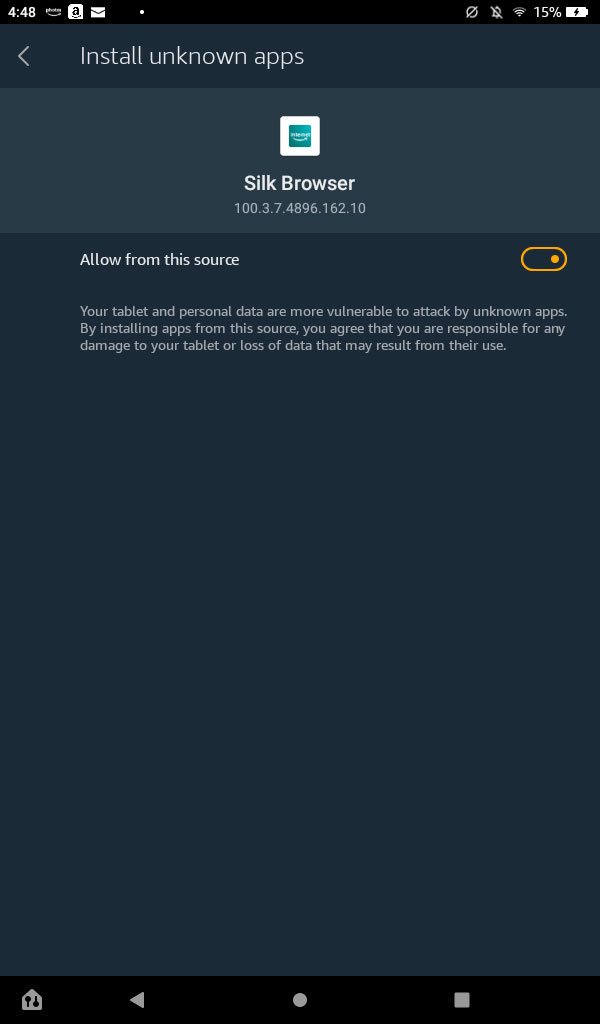
Step 4: Select the Silk Browser option and then toggle the Allow from this source button.
Know which Amazon Fire tablet you have
Once you've enabled the ability to download apps from outside sources, you'll be ready to download the components necessary for running the Google Play Store. In order to do so, however, you'll need to know specifically what Amazon Fire tablet you're using. If you already know which model you have, skip this section, or follow along just to double check.
Step 1: Open the Settings app again, scroll down to the Device Options tab, and select it.
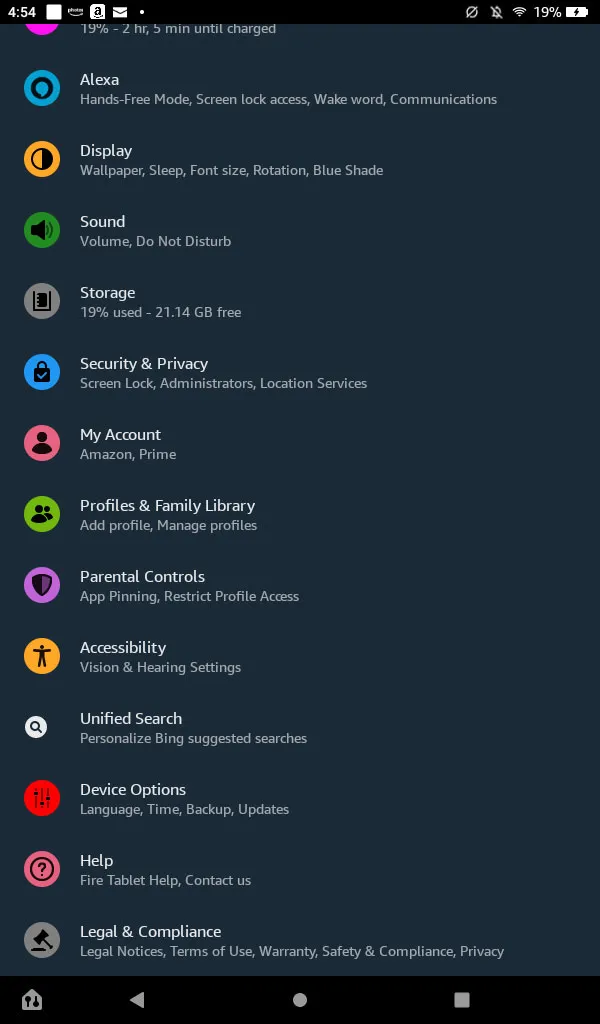
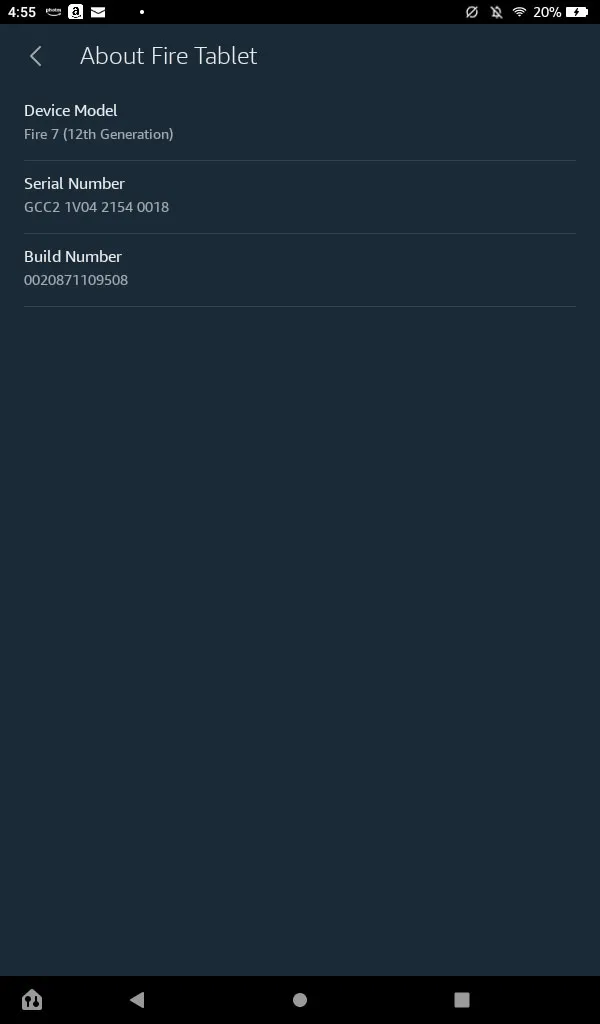
Step 2: Select the About Fire Tablet option.

Step 3: Check the information below the Device Model heading to learn which specific Amazon Fire model you're using.
Download the Google Play Store
With the knowledge of which Amazon Fire model you have, you'll be ready to download the four APKs necessary for running the Google Play Store. Take note that this process may wipe your microSD card if you're using one. Before downloading the following items, make sure to remove your microSD card from the slot just to be safe. Additionally, the APKs you'll be downloading are totally safe. However, the site that they're hosted on has a lot of misleading and potentially malicious ads that may try to confuse you into clicking on them. You should be able to avoid any issues as long as you only select the options listed below, so make sure that you're sticking to the steps closely.
Step 1: Open the Silk Browser app and navigate to this page so that you can tap on the links below.
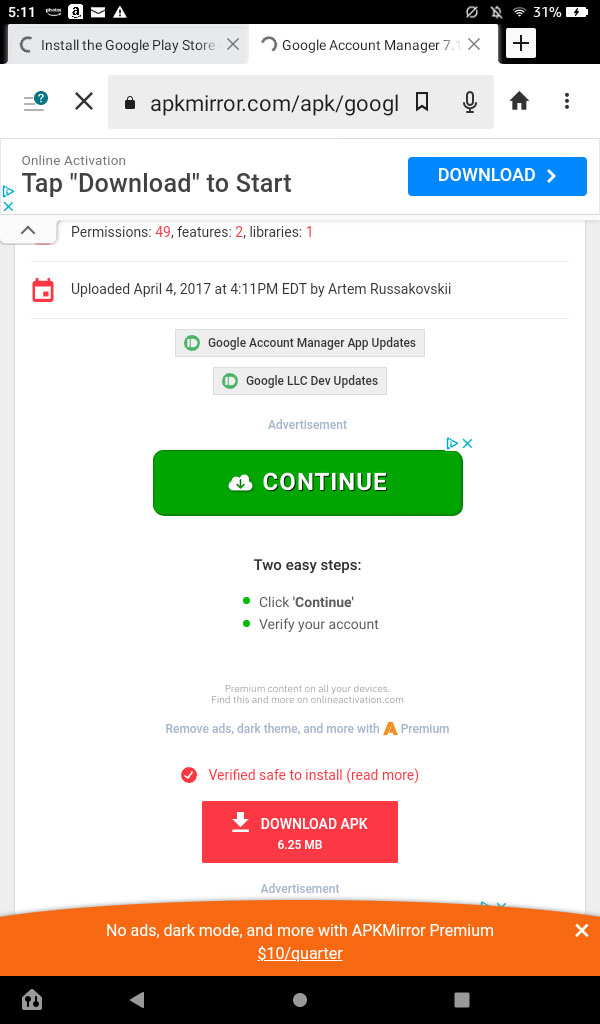
Step 2: If you have the Fire 7 (8th, 9th, or 12th Generation), the Fire HD 8 (8th or 10th Generation), the Fire HD 10 (9th or 11th Generation), or the Fire Max 11, select this link and then select the red Download APK box:
Google Account Manager 7.1.2 (Android 6.0+)
If you have the Fire HD 6, the Fire 7 (7th Generation or older), the Fire HD 8 (7th Generation or older), the Fire HDX 8.9, or the Fire HD 10 (7th Generation or older), click on this link and then select the red Download APK box:
Google Account Manager 5.1-1743759 (Android 5.0+)
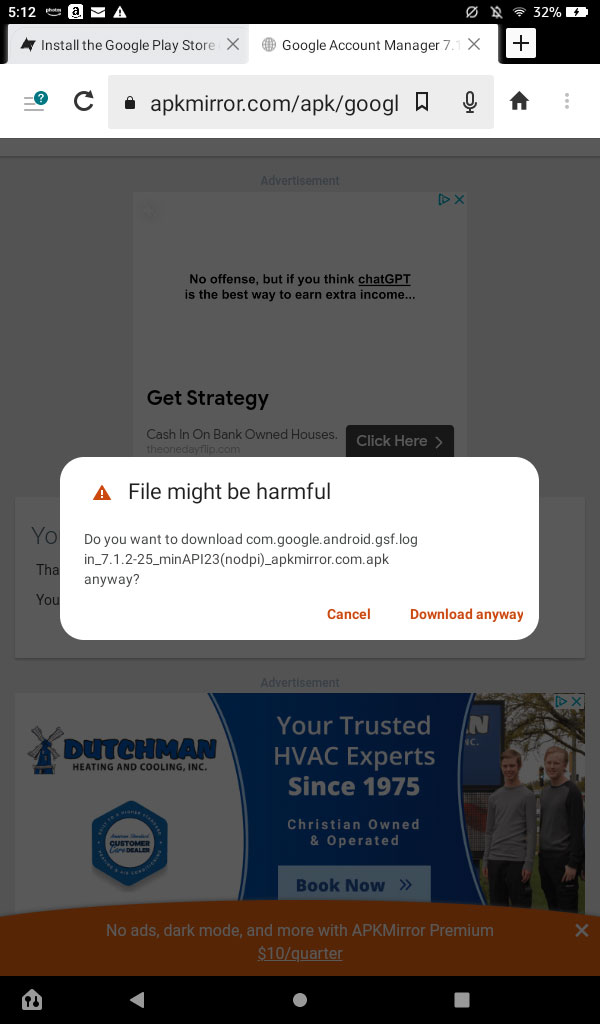
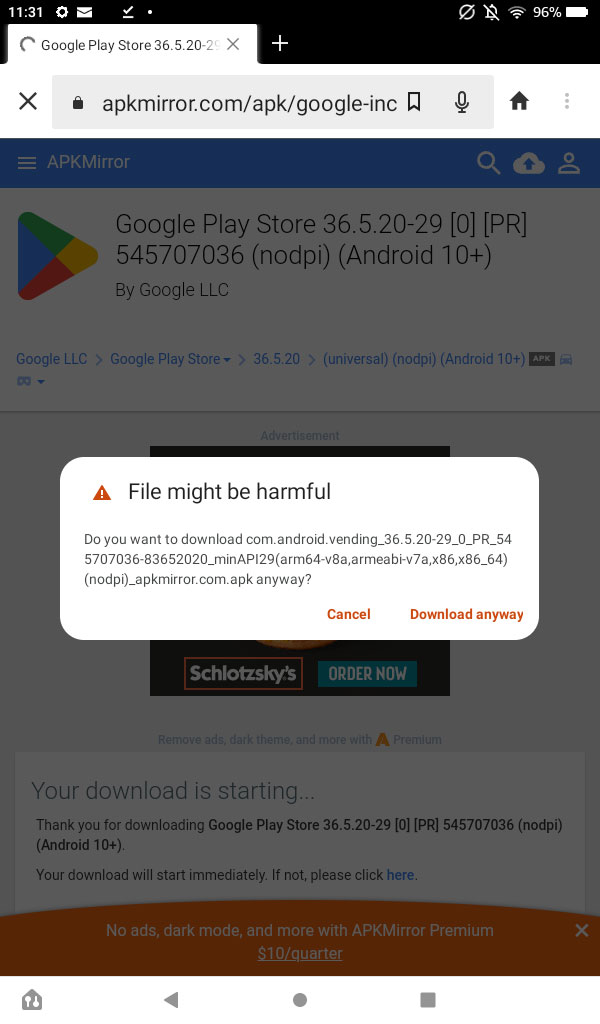
Step 3: After selecting the APK download prompt, exit the full-screen pop-up ad. You may get an additional pop-up from your Fire tablet that says the download may be harmful. Select Download anyway. Select this option every time you're prompted to in the following steps.
Step 4: Return to this page in the Silk Browser and click on this link if you have the Fire 7 (12th Generation), the Fire HD 8 (12th Generation), or the Fire Max 11, then select the red Download APK box:
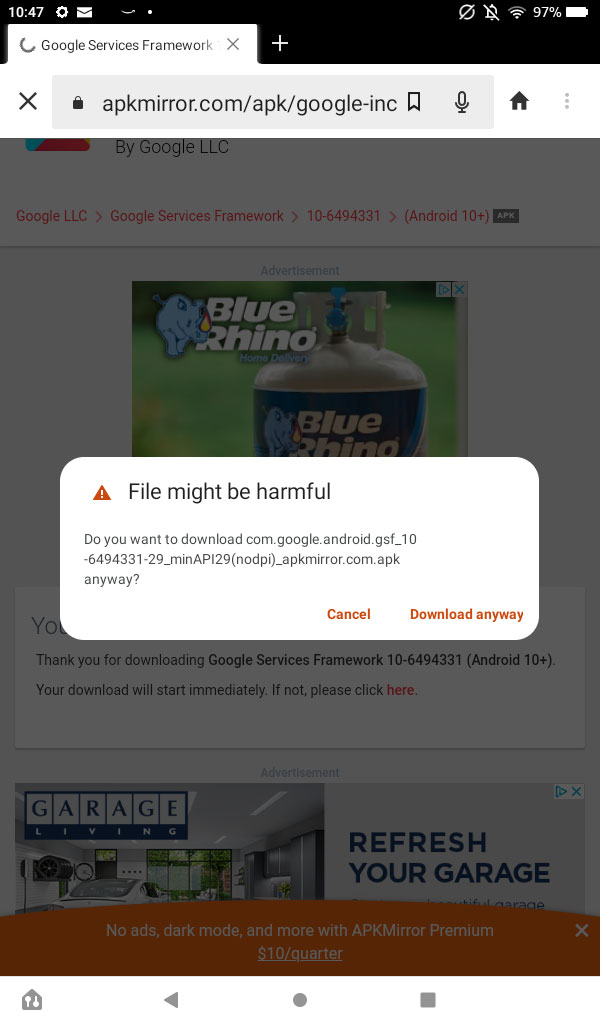
Google Services Framework 10-6494331 (Android 10+)
If you have the Fire 7 (9th Generation), the Fire HD 8 (8th, 9th, or 10th Generation), or the Fire HD 10 (9th or 11th Generation), click this link and then select the red Download APK box:
Google Services Framework 9-4832352 (Android 9.0+)
If you have the Fire HD 6 (any version), the Fire 7 (7th Generation or older), the Fire HD 8 (7th Generation or older), the Fire HDX 8.9, or the Fire HD 10 (7th Generation or older), click this link and then select the red Download APK box:
Google Services Framework 5.1-1743759 (Android 5.1+)
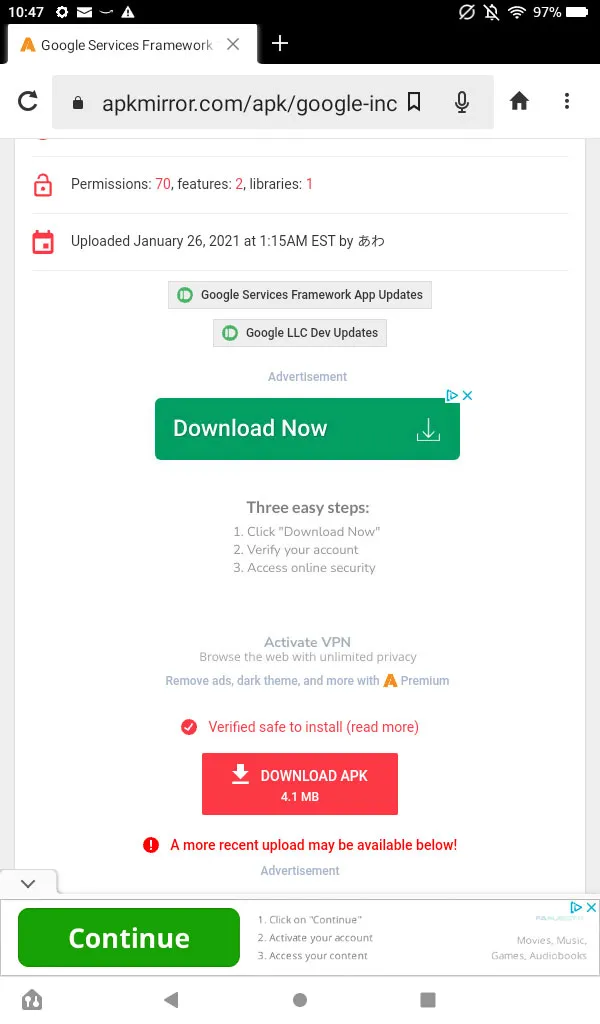
Step 5: After selecting the red Download APK button, click out of the full page pop up ad and then select Download anyway.
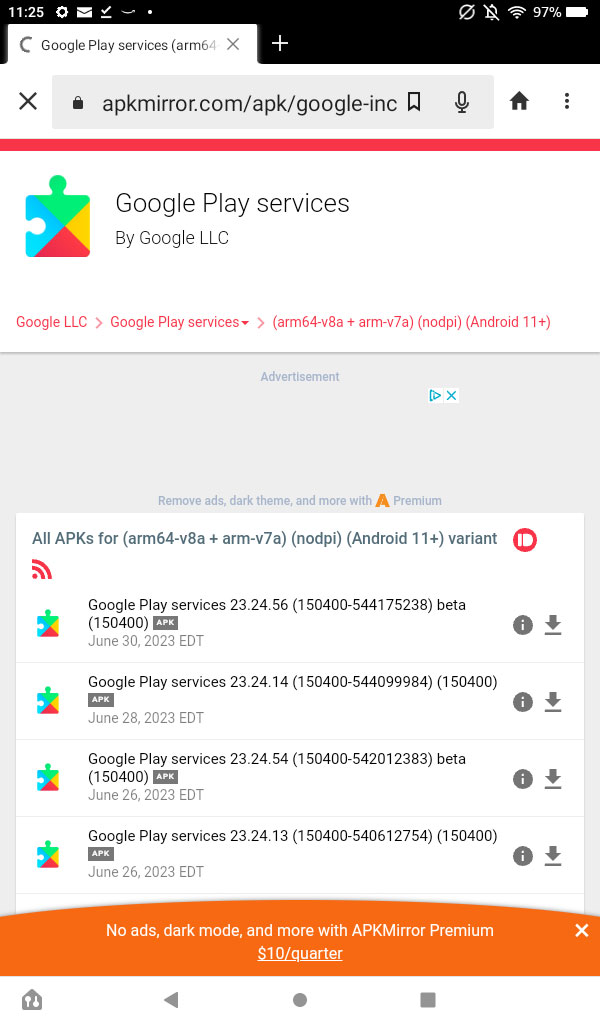
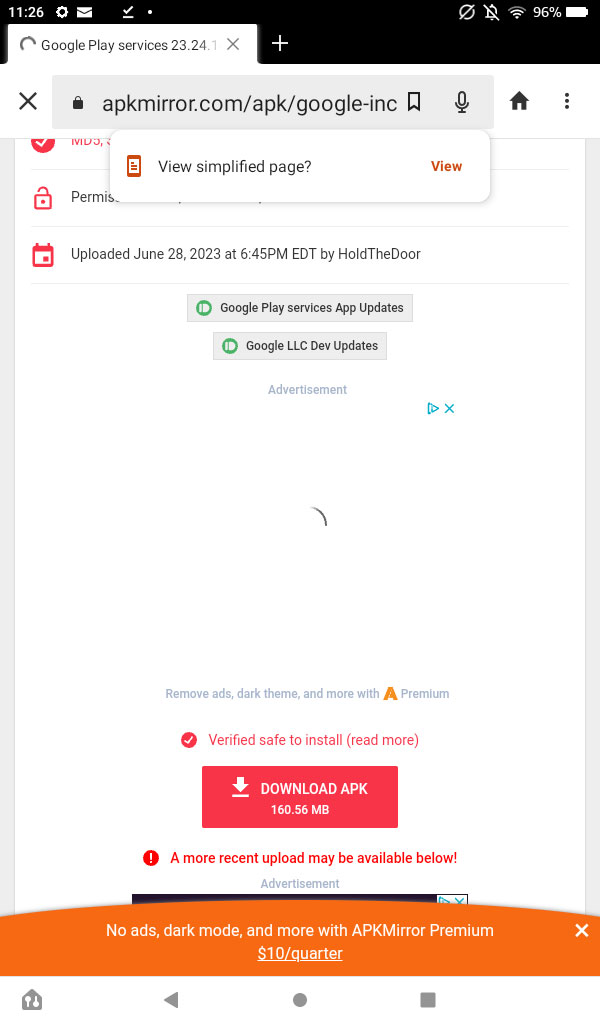
Step 6: Return to this page using the Silk Browser and select the link below based on your Fire model. Be aware that when you click on the link, you won't be given a clear red Download APK button. Instead, you'll need to select the APK from a list of downloads. Find the APK that's closest to the top that doesn't say "beta" in its title, and select the download icon on the right side of the screen.
Fire 7 (12th Generation), Fire HD 8 (12th Generation), and Fire Max 11: Google Play Services (Android 11+)
Fire HD 8 (10th Generation) and Fire HD 10 (9th and 11th Generation): Google Play Services (Android 9.0+)
Fire 7 (9th Generation): Google Play Services (Android 6.0+)
Fire HD 8 (8th Generation): Google Play Services (Android 6.0+)
Fire HD 6, Fire 7 (7th Generation or older), Fire HD 8 (7th Generation or older), Fire HDX 8.9, Fire HD 10 (7th Generation or older): Google Play Services (Android 5.0+)
Step 7: Once you've selected your APK, scroll down and select the red Download APK button. Select Download anyway if you get the "Harmful file" pop-up.
Step 8: Once you've downloaded those three APKs, you'll only have one more item to download, which is universal across all Amazon Fire models. Return to this page with the Silk Browser and click on the link below. Like with the last step, select the APK that's closest to the top of the list that doesn't have the word "beta" in its file name.

Step 9: After selecting the APK from the list, scroll down and select the blue Download APK button and then select the Download anyway option one final time.
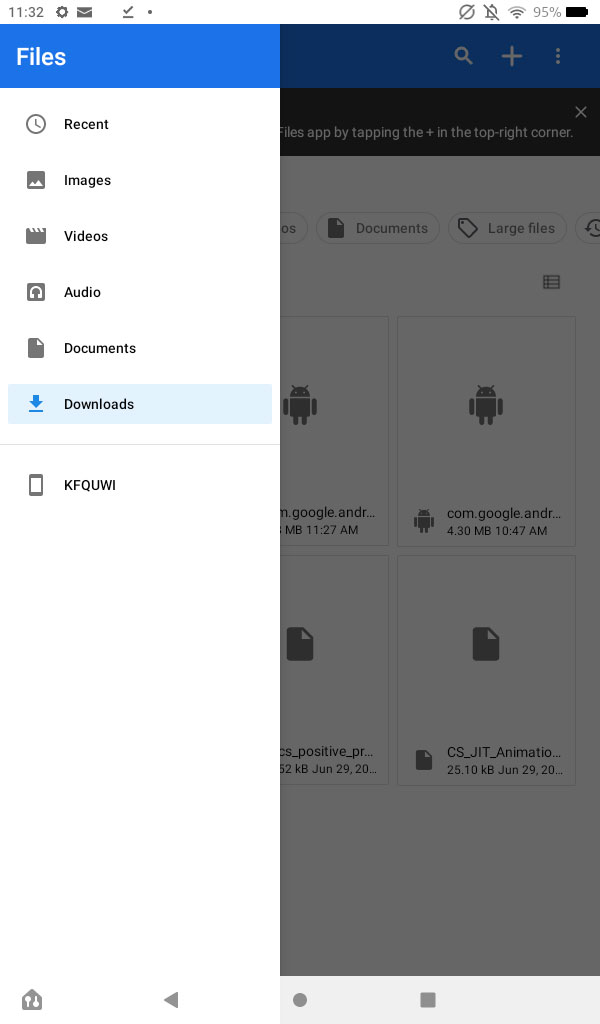
Step 10: With those four downloads complete, you'll be ready to open the files and get the Google Play Store working on your Amazon Fire. Go to your home screen, open the Files app, and then go to the Downloads menu by selecting the tabs on the side of the screen and then selecting Downloads.
Step 11: Change your file view type to list view by selecting the icon in the corner that displays the files arranged in a list so that you can see their full titles. For the Google Play Store to work, you'll need to open the files in a specific order. When opening each, you may get a pop-up saying that you're opening a file from an unknown source. Select Continue. Open the files in this order and then select Install, then Done:
- com.google.android.gsf.login
- com.google.android.gsf
- com.google.android.gms
- com.android.vending
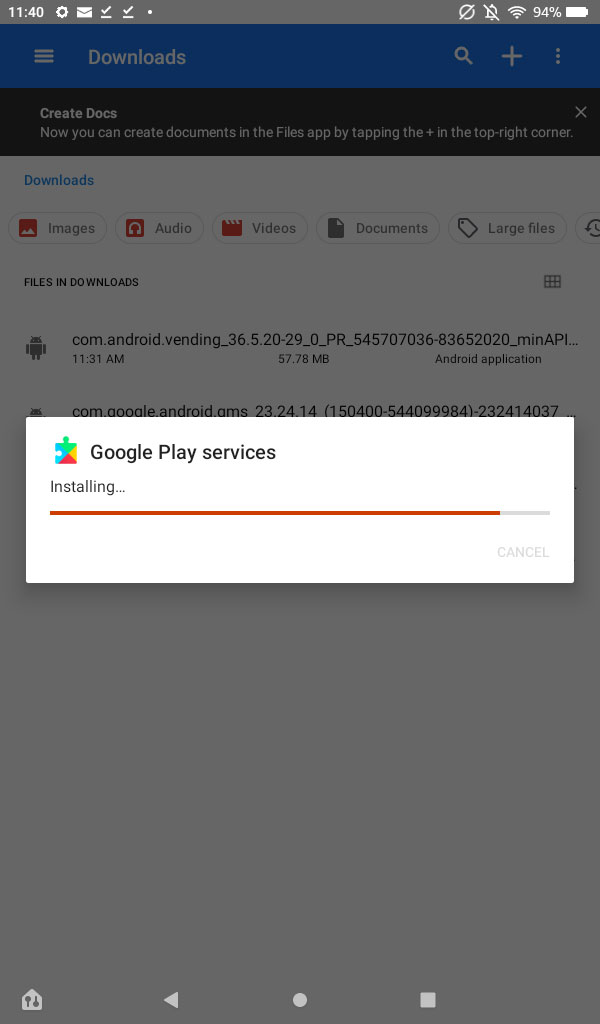
Step 12: After installing all four APK files, you should see the Google Play Store app added to your home screen. If you don't see it, you may need to restart your tablet. From here, you can select the app, log into your Google account, and start downloading apps from the store.
And just like that, you've successfully added Google Play to your Amazon Fire tablet! You can now download any apps/games that you want from the Play Store, many of which aren't available on the Amazon App Store.
Editors' Recommendations
- What is an eSIM? Here’s everything you need to know
- The 10 best apps for a second phone number in 2024
- All of Amazon’s Fire Kids tablets are heavily discounted today
- How to sync your Outlook calendar with an iPhone or iPad
- How to use external storage with an iPhone or iPad


